A Tutorial You Didn’t Need
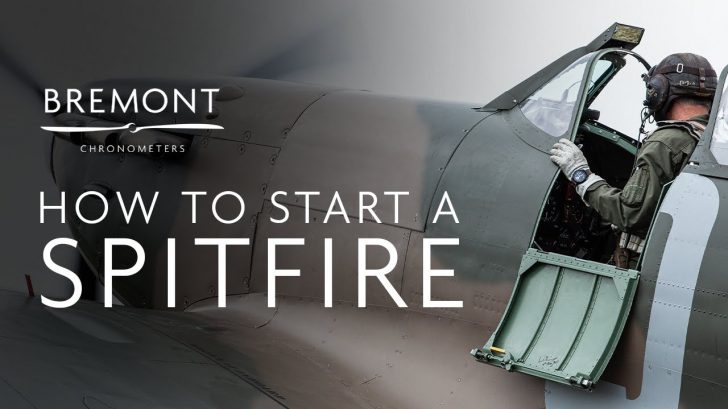
Have you ever wondered how WWII pilots started their Spitfires? If you did, then you’re in luck. John Romain takes us inside the Spitfire’s cockpit and teaches us how they used to start this beast up.
First, they check if the undercarriage is selected to the down position. Elevator trims should also be neutral.
Then, he checks all the fuses on his left. It’s best to generally test as many functions as possible since the aircraft will warm up quickly after its engines are started.
After that is the propeller pitch, making sure it’s in the “FINE” position. The throttle should then be preset at half an inch in the open position. Then he checks the brake pressure and sets the park brake to hold the aircraft in position.
By this point, the pilot would then set the altimeter at zero and check that the directional indicator is “caged”. Afterward, he checks the engine gauges – fuel, oil, and oil temperature. Finally, he unscrews the plunger-type primer, going for four plunges of fuel. Starter magneto on the On position, hold the stick back to hold the elevator up and stop the tail’s rise, press the Start button, then flick the main magnetos to On. The aircraft should stabilize at around 900 rpm.
They then let the Spitfire settle as they look for a gradual temperature rise of at least 20 degrees before taxiing to the runway.
If only they actually started the engine at the end, it would’ve been perfect!


