Early April of 1943
Yamamoto leads Operation I-Go to bomb Allied air, land, and naval assets of the Solomon Islands. This partially successful operation was Yamamoto’s last ever operation.
14th of April
Japan plans to transport Yamamoto to Bougainville Island. US forces decoded the orders from their radio message. They knew Yamamoto will be transported in a G4M Betty and escorted by 6 Zeros on April 18.
Yamamoto Was Punctual
Isoroku Yamamoto was known as a very punctual man. The US would use this fact against him while planning their intercept mission.
The Plan
They wanted to intercept the admiral as he approached Bougainville. From their calculations, the admiral would arrive at Ballale at 9:45 and planned to intercept the convoy at 9:35.
Opting To Use P-38s
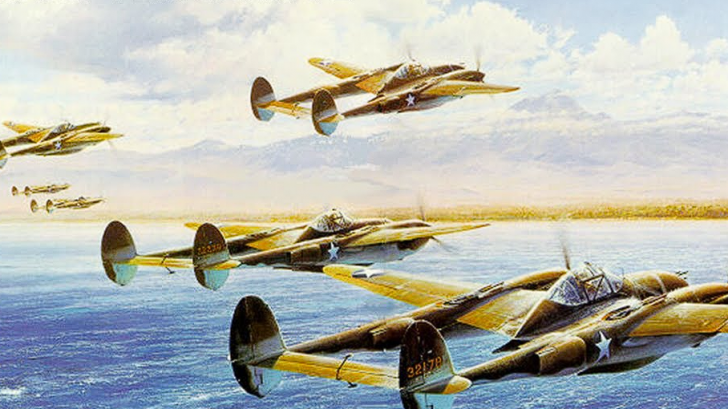
Wildcats and Corsairs did not have the range to pull off such a long mission. The mission soon fell on the P-38 to accomplish.
No Margin For Error
The planes couldn’t just fly over the Japanese-controlled islands. They had to fly 50 miles offshore, evading enemy radar in the process.
Equipped Fuel Tanks
Crews worked late shifts to fit fuel tanks to enable the P-38s to do the mission. Still, they only had 15 minutes to find and shoot down Yamamoto.
Split Into Two Groups
4 P-38s assumed the “Killer” role and the remaining planes would have to look out for the Japanese Zeros.
Early Troubles On April 18
2 P-38s from the Killer group had to turn back due to mechanical issues. Two planes from the Cover group had to assume their vacant roles.
Two Hours In
John Mitchell spotted the coast of Bougainville a minute earlier than the designated time. Above them were two Bettys and six Zeros.
Scouting The Enemy
Yamamoto’s Betty did not have any viable weapons while the other Betty only had one belt of ammunition.
Yamamoto Descends
As the convoy prepares to land, the P-38s start their attacks. The Killers fly parallel to the convoy while the Cover climbs to a higher altitude above the convoy’s rear
Before The Attack
Besby Holmes’ P-38 couldn’t drop its fuel tank, unlike the rest. He tried to lose it by gaining speed and breaking right. His wingman, Raymond Hine, accompanied Holmes on his detour.
Zeros Spotted The Killers
The Zeros dove down to meet the P-38s while Yamamoto banks right and the other Betty banks left. The full-on attack will soon begin.
Initial Attack
Lanphier, the leader of the Killer group, turns to meet the three Zeros. The lead Zero is shot down and he damages another. The three Zeros scattered soon after.
Get The Bombers!
Another Killer, Rex Barber, spots a bomber behind Lanphier and the remaining three Zeros on his left. Not paying mind to the Zeros, he opened fire on the bomber. He kills the pilot and shoots down its engines – this was Yamamoto’s aircraft.
Cover Fire
They shoot at the three Zeros which caused them to spread. The remaining Betty was now alone and theirs for the taking.
Holmes and Hine Taps In
After losing his fuel tank, Holmes and Hine join the attack. The two pilots tear apart the lonely Betty and it quickly explodes.
The Retreat
With their job done, the P-38s retreat to their base. However, Hine was jumped by a Zero and was shot down. He never made it back to base.
Who Got The Kill?
There was controversy about who really killed Yamamoto. Most historians believe it was Rex Barber who shot down the admiral’s plane.


